Since I had taken a quilting break through part of 2010-2011, I wasn't quite sure how to begin again. I still felt the need to stick with the materials I had on hand; and therefore, it was clear that I would need to figure out how to proceed.
Many people have already discovered how enjoyable SCRAPPY quilting was, and since that wasn't an area I had worked in, thought, why not try it!! Here is what transpired...
Click on the images or links below for more details on these projects:
Images--for my original blog entry / Links--for the designer's website/blogs
 |
| Storm at Sea |
John Flynn's, "Storm at Sea" was such fun to create. I love it when any fabric choices made can still turn out a great look!!
Visit his website to see more color choices and the quilting lines used to create a perfect flow for that stormy sea. Or check out the opportunity to attend a quilting seminar next summer, in Montana.
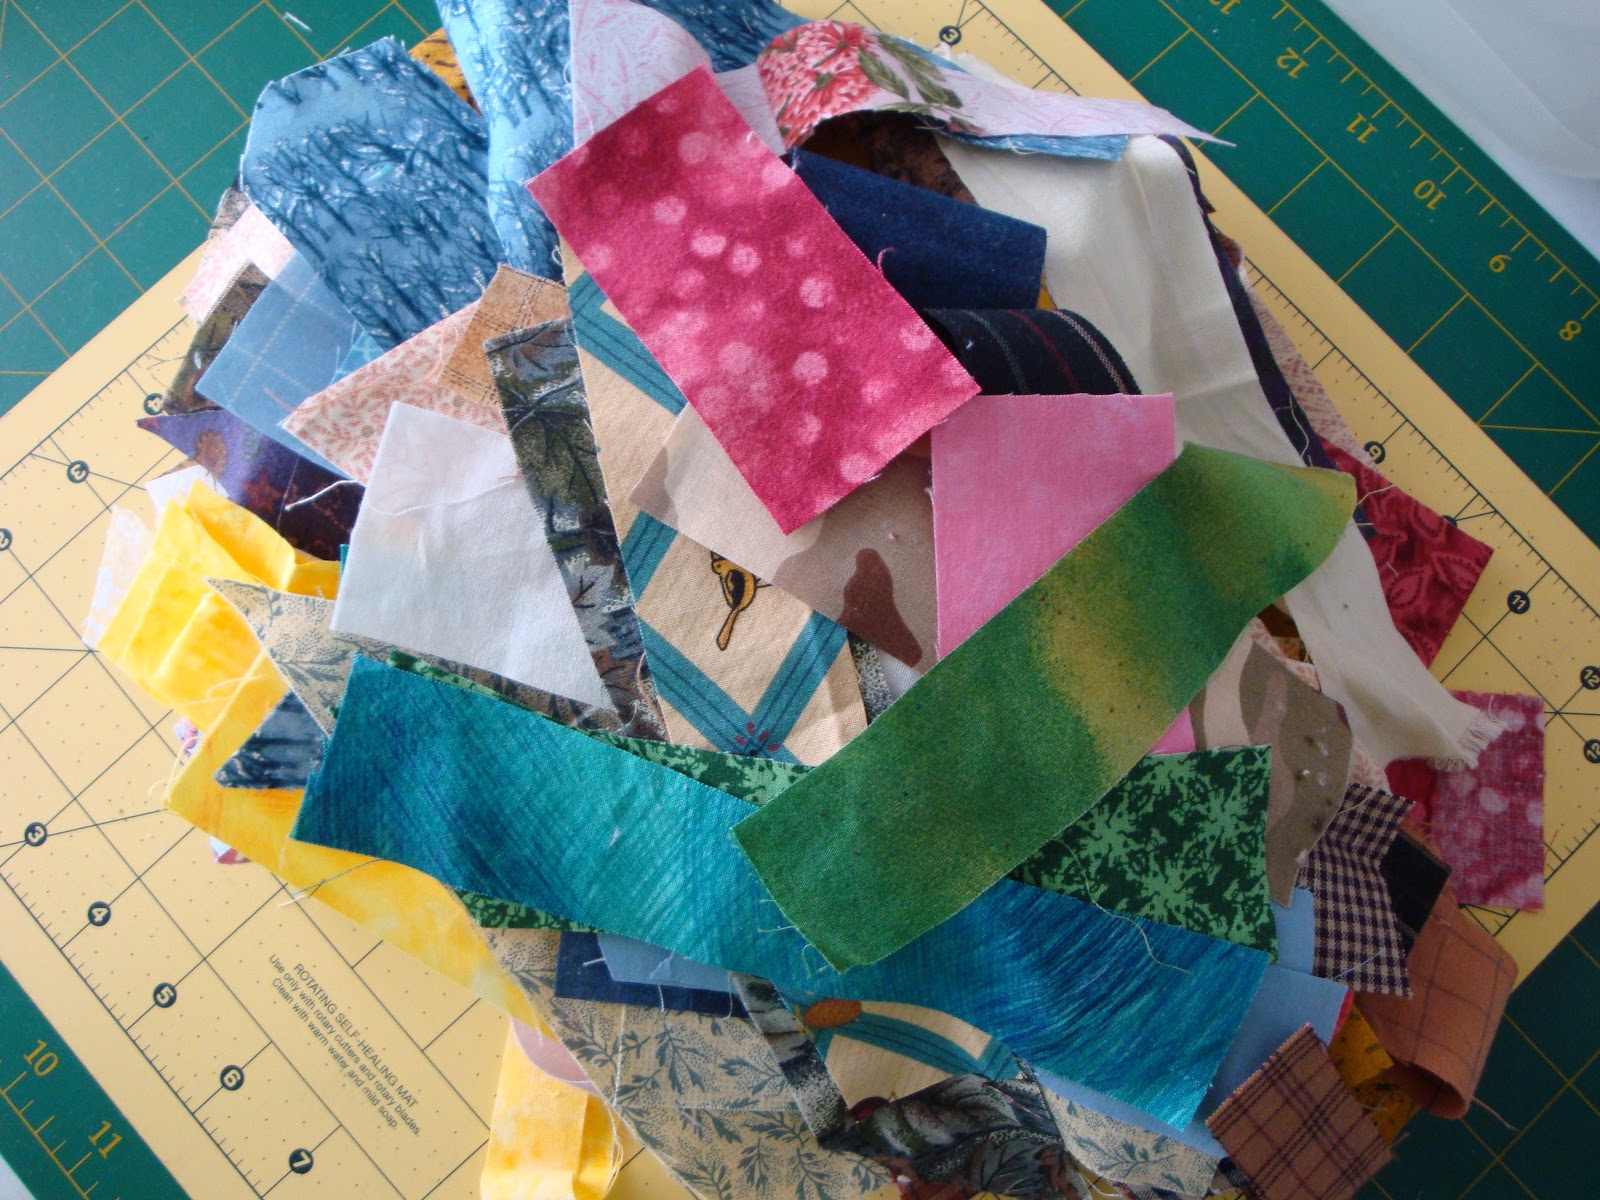
Fabric scraps taking over your life... then this scrappy method is just one medicine the quilt doctor would prescribe for you!!
 |
| String Quilting Primer |
Bonnie Hunter's, "String Quilting Primer" instructions are great to get you started. For more quilting fun, check out her books, free patterns, and her 10-day Bali adventure in 2012 on her website.
Here are two more inspiring sites to visit for this technique, a guild challenge and a video: SelvageBlog, Quilty.
 |
| String-X Quilt! |
Bonnie Hunter's, "String-X Quilt!" instructions are great to get you motivated to try more string quilting.
This design was fun, with the added challenge of setting my blue pieces into a uniform effect. I still like a balanced look. Not yet ready to try going totally random.
 |
| Four Patch & Furrows |
So many great free patterns on Quiltville, I had to chose a few more to try. This one used up more of those scraps.
This one challenged my color selection process, and in time, I dug up enough yardage to create the furrow section. It was a joy to make. Check out the instructions for "Four Patch & Furrows!
 |
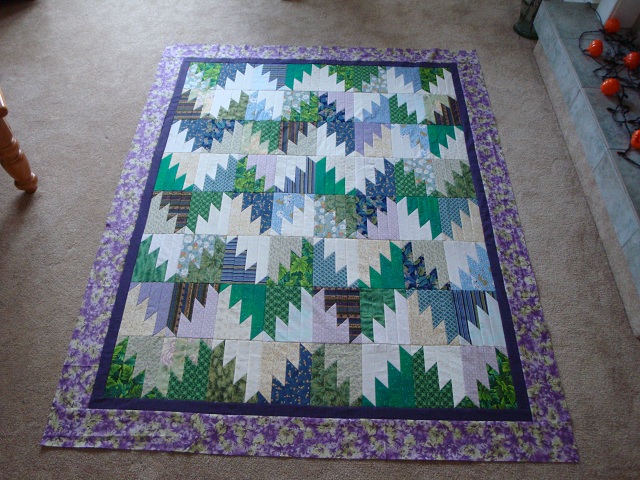
| Scrappy Mountain Majestics! |
This quilt was really fun!! This was my second favorite design from the scrappy quilts.
Bonnie Hunter's, "Scrappy Mountain Majestics!" instructions are super easy. These start out with 8.5" blocks. There are several options to reveal different looks--like creating magic, it is!!
 |
| Crumb Chaos |
I found Patti Chartrand's "Crumb Chaos" featured on the Quilting Gallery and it looked so delightful. However, this technique has my lowest votes, as it simply isn't for me.
If you have lots of tiny pieces and love this technique, the results can be truly awesome.
Check out the tutorials for Bonnie's "Crumbs, Crumbs, Crumbs" and Patti's "Crumb Chaos" on their blogs: Quiltville, Patti's blog.
Thanks for stopping by to read my blog!! More to come, next year!!
I wish you all a very bright future as the year "2012" dawns. May it bring peace and prosperity to all. Cheers!!


