Showing posts with label scrappy. Show all posts

Thursday, January 2, 2014

Piecing Together An Applique Mystery

Piecing -- Applique -- and Scrappy, too ....
Set to begin on January 5, 2014!!

Are you ready to start stitching up your story on this applique mystery quilt along? Instead of using crayons and paper; you'll begin with beautiful fabrics and add recognizable appliqued images that are attached to happy and/or sad memories, and many hopes for the future.

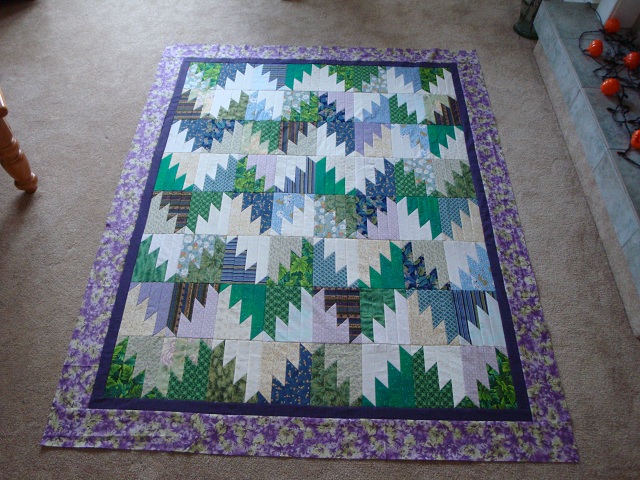
Combining pieced blocks and applique blocks; this quilt will allow total freedom to select a wide range of colors to create a delightfully scrappy quilt, that is set to tell a story -- and being a wall hanging quilt at about 33" x 33" in size; it will stitch up in only 17 weeks.


This Quilt A-Long Project will:
1.)  
Allow total freedom when selecting your colors, any embellishing of the blocks; even has an option in block choices, and the design is flexible to allow changing the final layout, if so desired.

2.)
Allow the beginner, advanced, busy, precise, or creative quilter several main options for creating their own unique quilt.  

3.)
Provide opportunity to work on a quilt along; without the large expense in fabric needs, supplies, and sewing time, as a large project would.
 
4.)
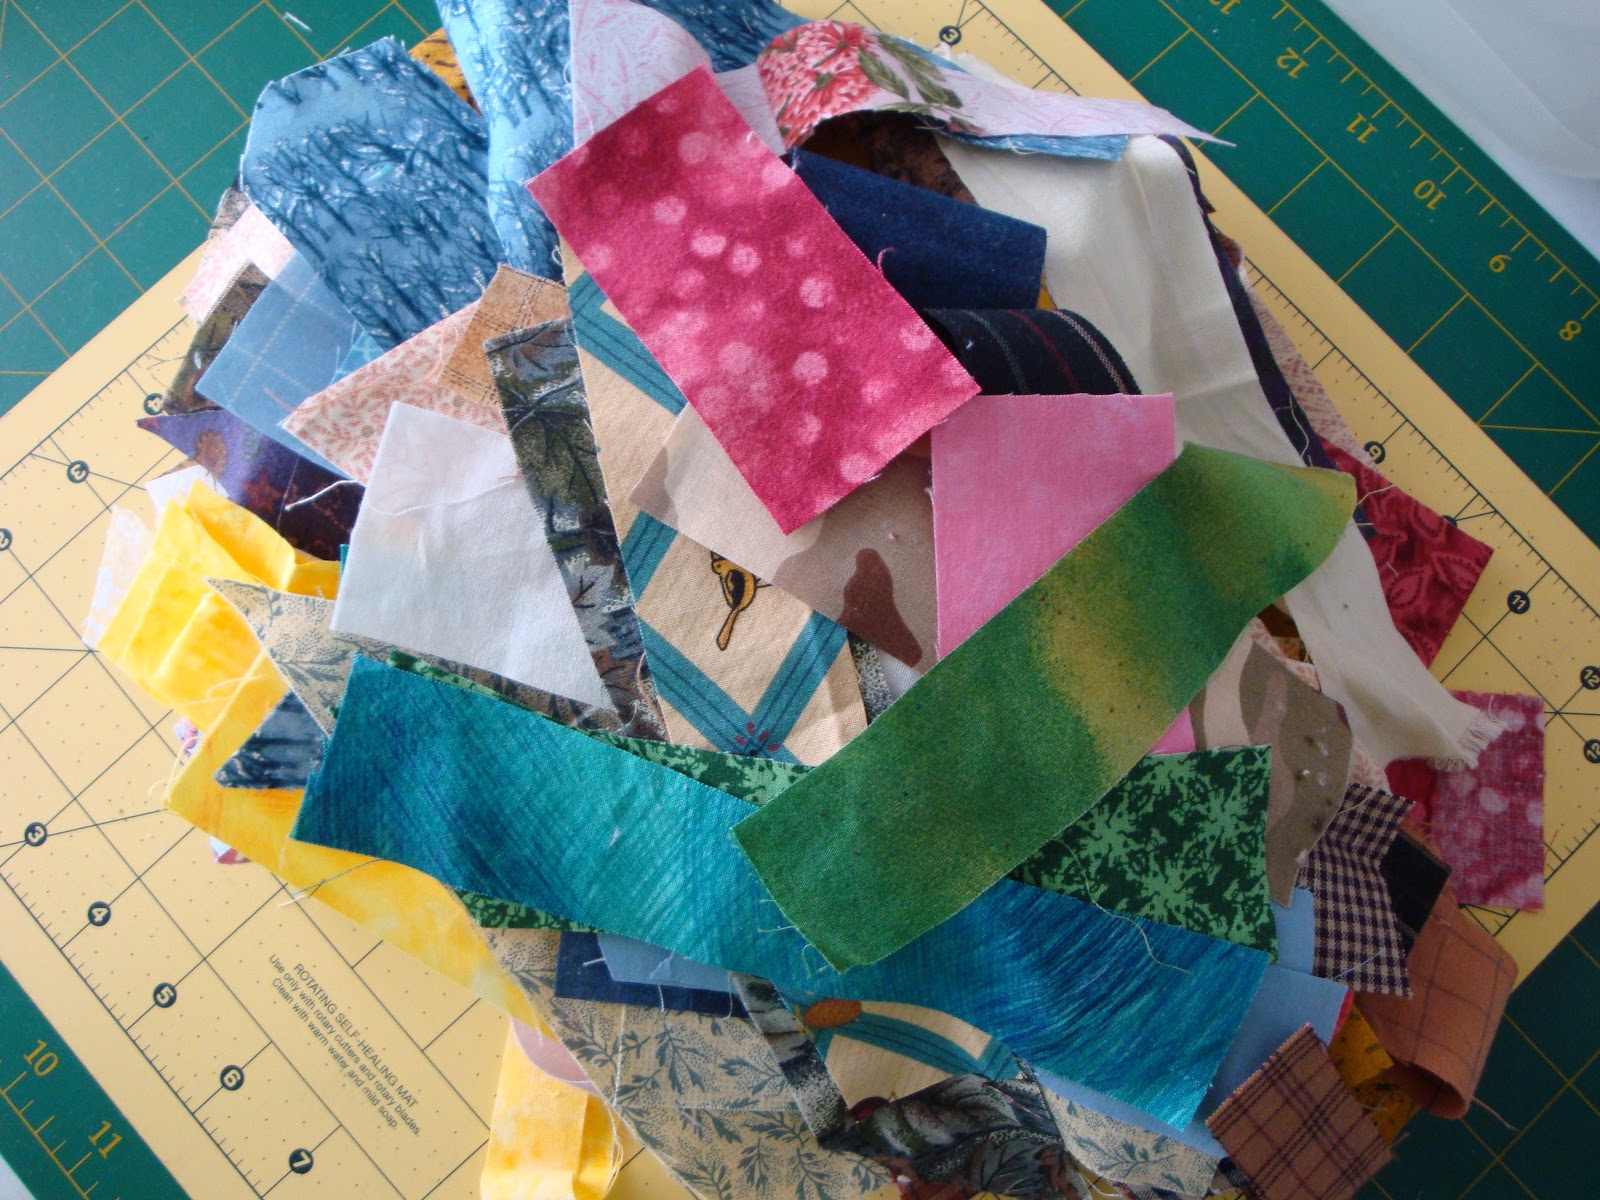
Allow opportunity to use stash fabrics and supplies already on-hand to save money and give opportunity to anyone that wishes to take part in a quilting project without straining their budget.
 
5.)
Begin January 5, 2014 and finish the week of April 27, 2014... making a great gift for someone special; maybe it's YOU!


Soon to be stitching....


Sunday, December 11, 2011

A Majestic View

Time usually seems to fly when one is interacting with a fun activity!! Doesn't it? So it is already time to post my final scrappy quilt made from quiltville website/blog.  The pattern instructions for this quilt is available for a free download.

Some of the steps from this design are shown here, and if you are interested, please visit the links above to see more on this pattern.

I used fabrics in neutrals, greens, blues, and purples. It was a great design to use fabrics I already had on stock.  
  • Cut 8.5" squares of fabric, in both darks and lights. I made the lap size quilt which needed 64 squares in total.
  • Lay a light and a dark fabric with right sides together and cut into two triangles. Then sew together. After sewn, press and trim to an 8-inch block.
  • From these blocks, a variety of designs can be achieved by how the two fabrics are placed together before cutting into the strips.
  • After deciding, place two blocks with right sides together again, light facing dark/dark facing light; and cut each set of blocks into 2-inch strips. Then these strips are rearranged before they are sewn together to make the new blocks. 

Cutting the Blocks--Triangles

Cutting Blocks into Strips

Arranging the Strips

Rows--Block Assembly

This project: 8 blocks wide by 8 blocks long; 64 blocks in total. 
Borders (unfinished size): inner border: dark purple-2"; outer border: purple/green-4.5".

Borders to Complete the Quilt

 My Finished Quilt
Scrappy Mountain Majestics (approx. 57" x 71")


Thanks to Bonnie Hunter for inspiring me to try these scrappy quilt techniques!! It is always a joy to work with those fabrics already in my stash. There is a huge variety of free patterns on her site. Also, she has several great books available for purchase.

Please visit her website or blog, for more details on this or any other pattern for using up your scrappy fabrics. 

Hope you enjoyed this project. Until next time... cheers to you all!!

Sunday, November 20, 2011

Going Scrappy!

What does one do--when their fused applique supply has run out and the fabrics in the stash are not the latest designs?  One would be... go buy more! Another would be... just use what one has at home. 

Well, my dilemna was eliminated when I figured it was time to go SCRAPPY!!  So, I can experience for myself what those quilters that love scrappy quilts are talking about.

So, after going through my fabric pieces that I had sorted into separate colors to use for applique and those smaller fat quarters and other remnants of fabric. I started cutting them into strips and squares. I will deal with those squares in another posting.

Cutting the Fabrics into Strips

I did an online search, and came up with some great ideas! This is what I did with that mess of strips...

The website that got me started had me inspired to try out several variations, that will begin with this posting. And, who don't love a FREE pattern to try out a technique, not yet tried. 

The pattern is called: String Quilting Primer

The Block

I used a foundation piece (blue) to sew the strips onto, which was a very thin fabric that I had no other purpose for using. And, I also used the same fabric for the center strip in each block. My foundation piece was 8" square. After trimming it was 7 1/2" square. In total, I made 48 blocks.

Starting With Center Strip


Foundation Fabric Covered Completely
Trimming the Block - 7.5"

Looking Beautiful--Not Bad From A Pile of Strips

After I had sewn the strips onto the 48 foundation fabric pieces, it was time to decide where to go from here. Originally, I had thought I'd make two smaller quilts, but decided to use them all in one quilt top, instead.

Assembling the Blocks

Then, I added the same fabric as was used in the center of each block and added another border to finish at 50" x 64". That is where I'll leave it, for now, ready to quilt later.

Adding the Borders (width: light pink 2"; bright pink 3")

My String Quilting Primer Quilt Top
Finished Quilt Top  (approx. 50" x 64")
Thanks to Bonnie Hunter for inspiring me to try this scrappy technique for quilting!! I will be posting three more of her quilt designs, coming soon...

For more on Bonnie's quilts, visit: http://quiltville.com/

Hope you enjoyed this project. Until next time... cheers to you all!


Sunday, June 20, 2010

Turning Twenty…

Book:
Turning Twenty… Again/ by Tricia Cribbs

Time to reveal my next project... I choose: "9 Blocks – 3 x 3 setting" from the book.  [We can use the Turning Twenty technique using 9, 12, 16, 20, or 30 blocks.]

Book, Fabrics

The fabric requirements for this technique use fat quarters. If you are making the quilt with 20 blocks then all you need is 20 fat quarters.

Also, if you like to do scrappy quilts, then this quilt pattern would be a perfect choice. Just go through your fabric scraps and start cutting until you have the required pieces.

All the Pieces Cut - Labels show the Size

Stitching Together the Units

A Complete Block

After the blocks are sewn together, you can decide if you wish to just add the binding or if you want to add borders. Go ahead and experiment…

I particularly like quilt projects that either have a variety of sizes to try or can be easily scaled down to make a smaller one. It’s a great way to familiarize yourself with a new technique before deciding whether you wish to make one in a larger size.


ASSEMBLY:
When sewing the blocks together, it doesn’t matter which side they are placed on… this makes each quilt unique.

The thing that I had the most trouble with was the quilting portion. I prefer to use 505 spray instead of safety pins to baste the layers together. However, I didn’t have any left and was determined to make it work without the spray, this time.

So after considerable time stitching and ripping out stitches, I decided on stitching in the ditch around each main block. Then, I stitched a square in the center of each of these blocks. I used a scrap piece of paper for a template.

Template for Block Centers

Center of Block Stitching

I usually breathe a sigh of relief when the layers have been stitched together. Then, I can enjoy stitching on the binding.

Binding
 

MY OBSERVATIONS:
I believe I have decided on two things in this quilt challenge:

<>  My favourite quilts to make are ones that are small enough to fit on my 24” x 36” cutting mat.
<>  And, I think that those that are not totally square, are most preferred.

While the most challenging part of this particular project was the quilting of those layers, it was good to finally dig this book out from my collection of quilting books.

What is the most interesting about this quilt challenge for me, is that I am utilizing quilt books that are on my bookshelf. No longer will they stay there just to decorate my sewing room.


My Finished Quilt
Finished size: 29” x 29”

I choose fabrics to match one of the quilts in the book. However, it would be fun to try a scrappy quilt with no set colors.

Next Week...
It is time again to do a three month review of the five books I've reviewed. If you wish to see what books are being featured you can also check out my website for more details.


Enjoy your quilting journey in 2010!