
DOMINO FRAME BLOCKS
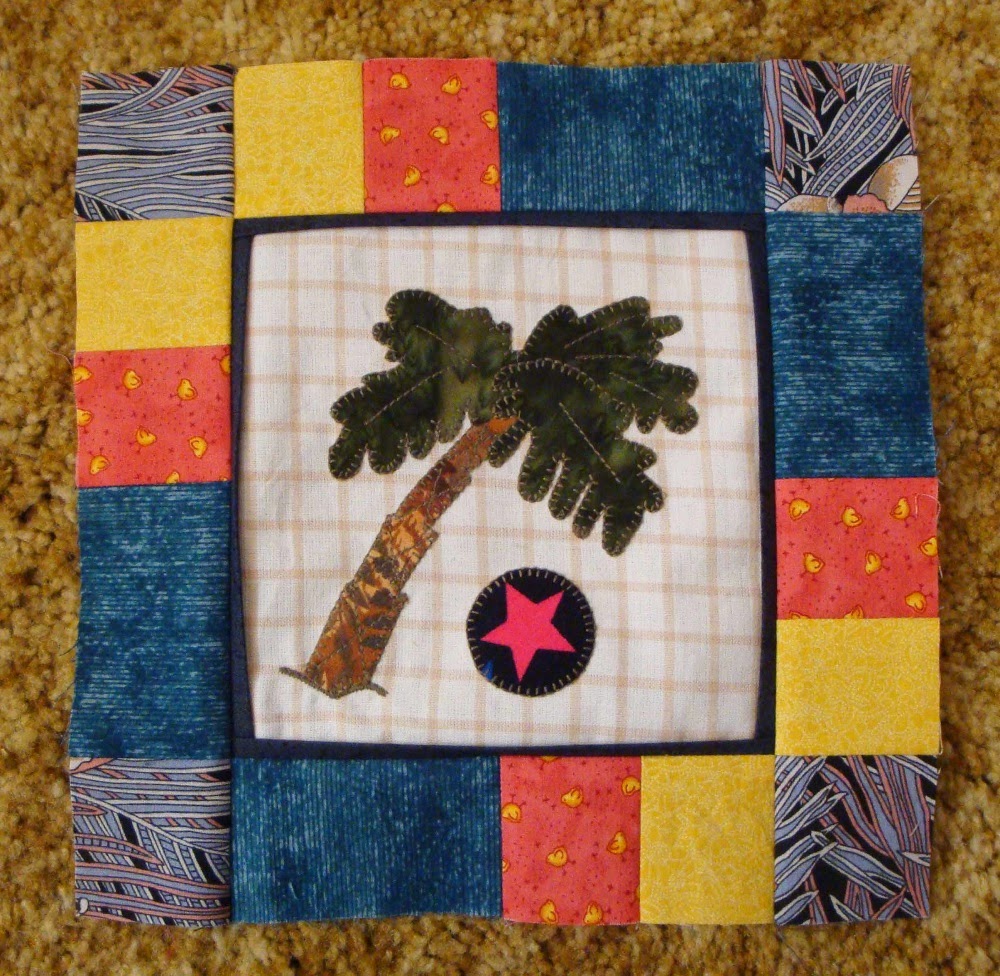
This domino frame block is used in Weeks 12 & 13. It is the same block construction; the difference will be the chosen applique design. Week 12 is shown below.
This domino frame block is used in Weeks 12 & 13. It is the same block construction; the difference will be the chosen applique design. Week 12 is shown below.
To create the domino frame, you will see I've used three bright colors and a flat piping to frame the center of this block. These colors are taken from my border fabrics and I hope will provide a good contrast to the other colors used in the pieced blocks; and liven up the scrappy look of my quilt. You may select colors from your border fabrics or from blocks within your quilt, as desired. The piping is optional.
THE DOMINO FRAME
The instructions on the pattern page give you all the sizes required for the domino frame. Here you can see that I have sewn two B-C-D sections together; and two A-B-C-D-A sections together. Placing them around Piece E (not shown below) will create the domino frame block. Then I've added an applique design to the center of this block to complete it.

THE FLAT PIPING
If you want to add flat piping to the edge of the center of this block, cut strips 1" wide and the length of each side. (6.5" x 4 = 26" total length needed) Fold the strip in half with wrong sides together. Press. With all raw edges lined up, stitch through all three layers. Sew your stitching line just under the 1/4" measurement so it will be covered when the domino frame is added.
VARIATIONS
For variations, you may choose:
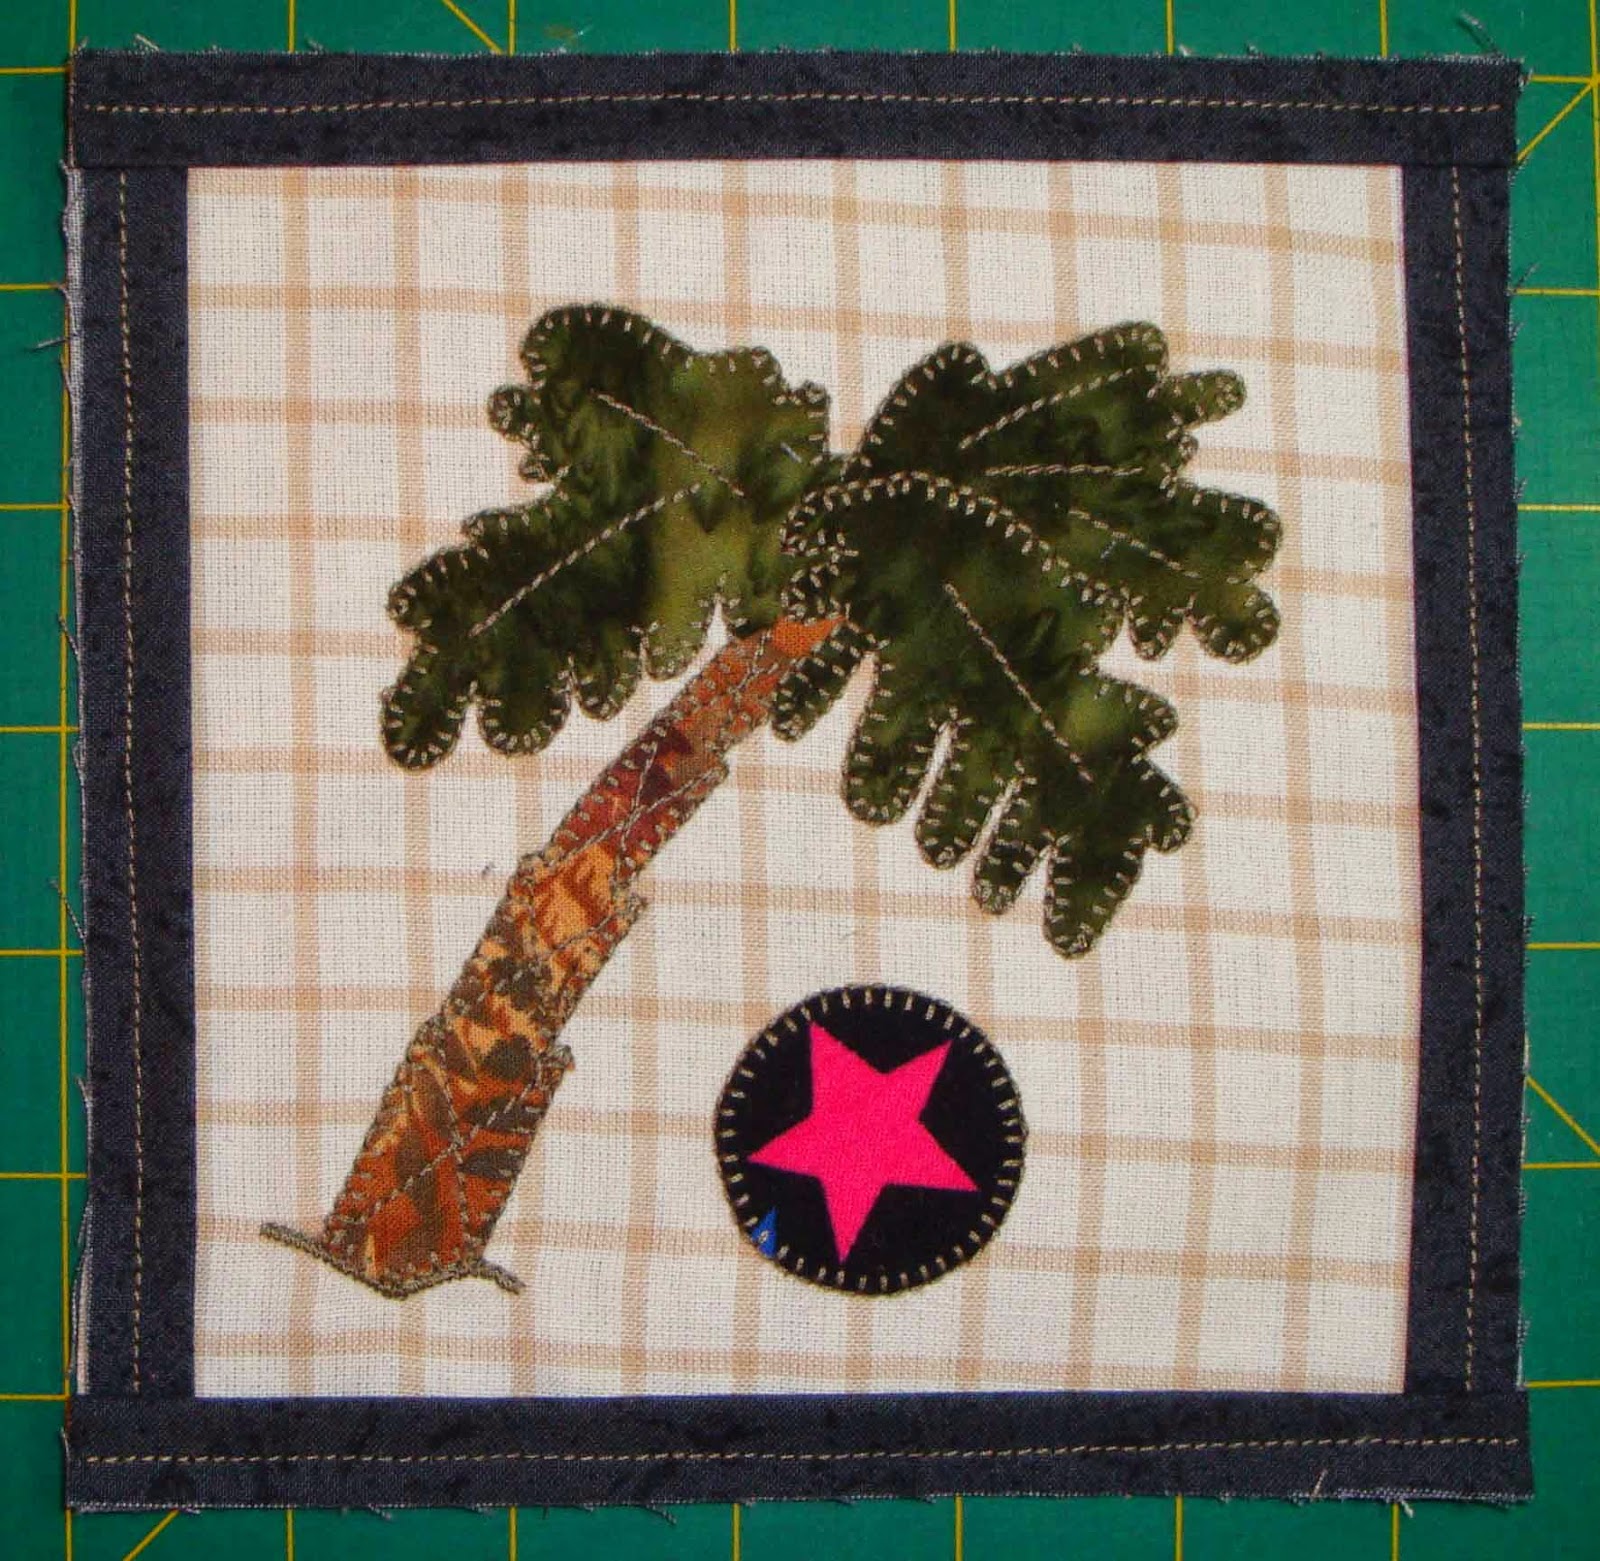
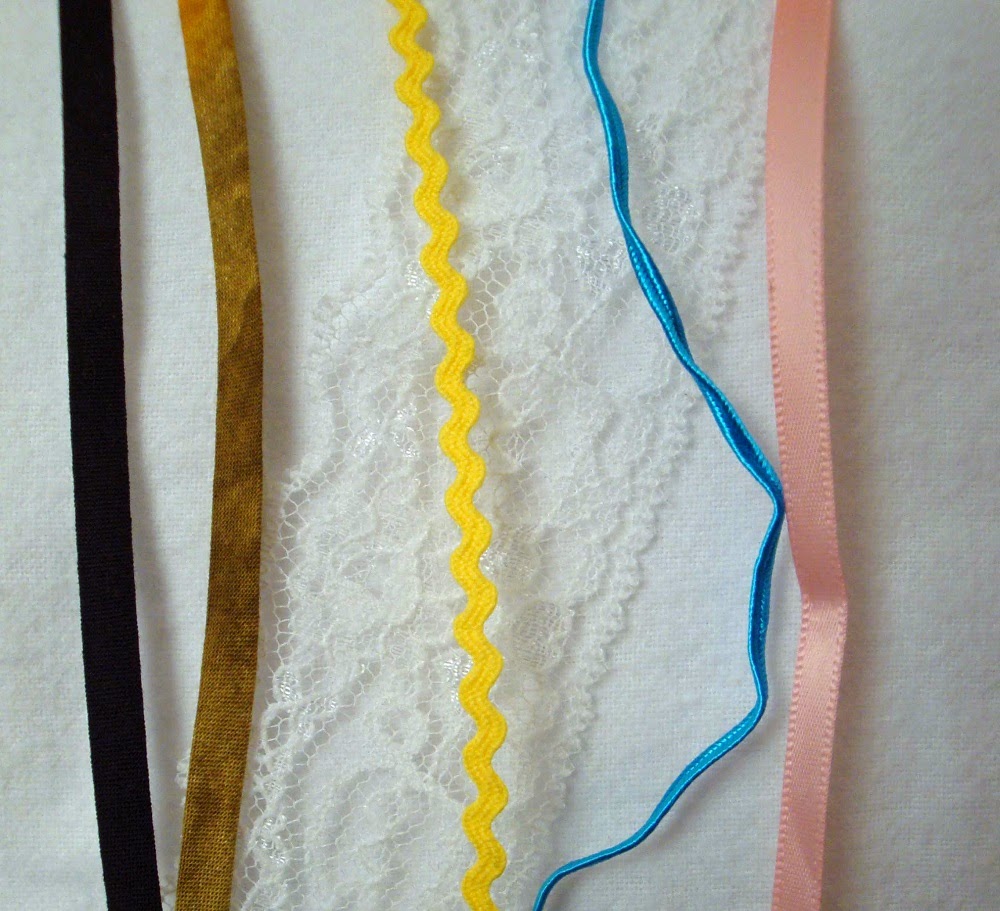
1.) To omit the domino frame and use a plain piece (9.5" x 9.5" square) for this block; where you will add the applique design to the center and embellish as you wish. You may add creative stitches, rickrack, ribbon, bias tape, piping, etc. to add interest to this block. (Block is shown below in pink/green print.)
2.) To replace the domino frame with plain strips to add to the center block. (Block is shown below with pink/green print in center and a pink border.)
3.) Or wait until the blocks have been stitched together and add creative stitching to the edge of Piece E.

VARIATIONS
You may construct two domino frame blocks and add next week's applique when it is available; or prepare the pieces to be ready for next week's lesson.
Once these final two blocks are completed, you are ready to assemble all the blocks as per the quilt layout. Then step back and take a look. Colorful, right! At this time, if you wish, you can rearrange your blocks to see if any pieces look better in a new arrangement.
Posts coming in April:
1.) After placing your finished blocks on your design wall, allow time to view your work before making final adjustments, (if any). I'll share with you a post on making a quilt label.
2.) I'll reveal my finished blocks and show you how I rearranged them. There's always room for change, and you can decide if you want to place the blocks as per the quilt layout; or one that suits the look of your own project.
3.) A post on tips and final construction processes, where I deem necessary.
Happy Stitching!!