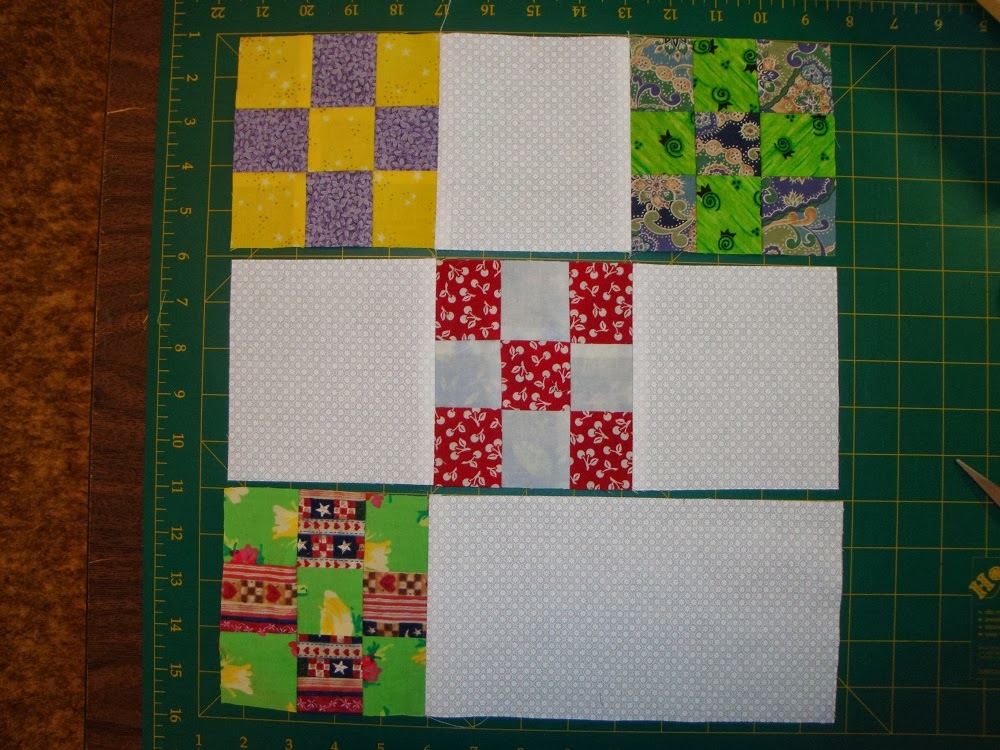
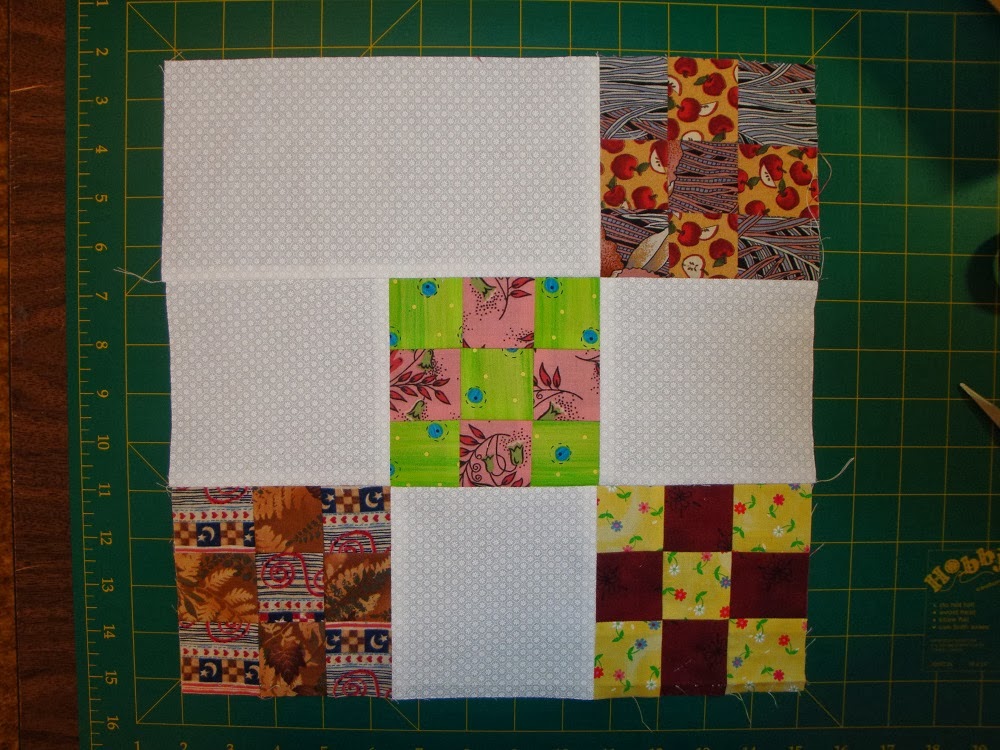
Now that the
nine patch,
four patch, and
scrappy blocks; have been reviewed, let's take a closer look at the
fused machine applique technique.
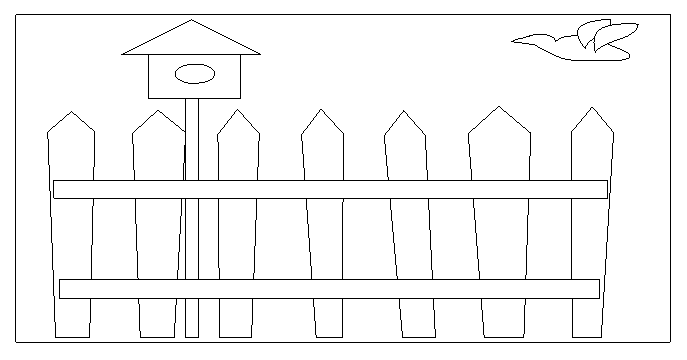
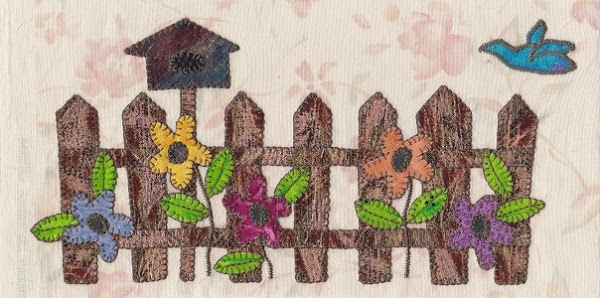
Applique Blocks
I have seen lots of very creative applique blocks come in on Facebook, already; however, for anyone that is new to this technique or would like a more detailed approach, here is a mini tutorial using our Week 6 applique design.
Once the PDF is downloaded, the template page(s) printed, and your fabric selected; you are ready to follow these steps:
Fusible Web:
1.) PREPARING THE TEMPLATES
Follow instructions provided with the fusible web product you are using. (Here I am using Wonder Under by Pellon.)
With the template page face up underneath the fusible, trace out each design. Draw on the paper-side of the fusible, as all my templates have already been reversed. If you draw on the other side (web side), they will face in the opposite direction, from what the pattern applique layout shows. (If your images face the opposite direction, that is okay too.)
To help identify all those pieces:
--Write on its corresponding letter or number.
--Draw on directional arrows, when needed (for proper placement on fabric prints.)
--When doing more appliques at the same time, separate them into Ziploc bags, for easy storage and retrieval, when ready to begin each block.
Additional things you can add (where pieces are large enough or where necessary):
--Template parts: head, left arm, right foot, etc.
--Color of fabric you want to use (so when you go to place pieces you're using the correct fabrics).
Once the images have been traced; cut them apart either separately or as a group (if they are going on the same fabric). I prefer to leave a narrow white edge around the hatched lines, to make accurate cutting easier.
I find the fabric is less flimsy to cut when you cut through both the fabric and fusible web paper. If you need to release an edge to aid in removing the paper, this makes that easier, as well.
My preferred fusible was Steam-a-Seam 2; however, since it isn't available at present, I am using 805 Wonder-Under by Pellon. The one problem that I have is getting the paper off the fused applique. So, this is what I do; and it de-stresses this process:
1.) Slide the tip of the seam ripper in between the paper and fabric to loosen one side or corner for easier removal, once the piece is cut out. (Depth: about 1/4".)
2.) Place a pencil mark at this location, to instantly know which side you've lifted. Because as sure as anything, when it comes time to separate the paper and fabric, you'll probably not remember which spot you separated. (This easily happens when doing a lot of pieces, at the same time.)
3.) It is best if you do it before you trim the piece, as the extra fabric on the edge gives it more stability.
4.) Since one cannot loosen too much on very small pieces, we want at least half of the piece to stay fastened to allow for cutting out the design.
Releasing Edge of Template
Recommendations:
--Use a permanent marker instead of a lead pencil. Why? It doesn't rub off and get on your hands, while working or while using the iron. The lines are easy to draw and see; and will not fade as much as a pen or pencil mark does.
--I like to use a hatched line when tracing out my templates. This eliminates the need to use a ruler, which needs to be wiped, or else collected ink from the edge can smudge other template pieces as the ruler is moved about. Also, one need not worry about an unsteady hand, causing crooked lines, as it is easy to lift the hand when tired, and then continue tracing.
--If drawing circles is difficult, you could also use an item the proper size, and trace around it; (IE: bobbin, spool, plate...)
--Use a small piece of masking tape to help secure your page to the table, as you trace out the templates, when appropriate.
Fabric:
2.) FUSING TEMPLATES TO FABRIC
Select the fabrics you will be using; press if necessary to remove wrinkles.
To aid in applique placement, you can mark the center of the block, but adding a crease line vertically and horizontally on the block.
Marking Center of Block With Creases
If there are many pieces to layer in a design, you can carefully do a quick press (iron down, iron up) with the iron, then continue adding more pieces, to keep them from sliding about. Then fuse all when ready. (
However, only do this when you know you have pieces where you desire them.)
Only fusible with sticky backs can be re-lifted and re-arranged during the placement process. That is why so many people liked Steam-a-Steam 2. (Wonder Under does not have a sticky back.)
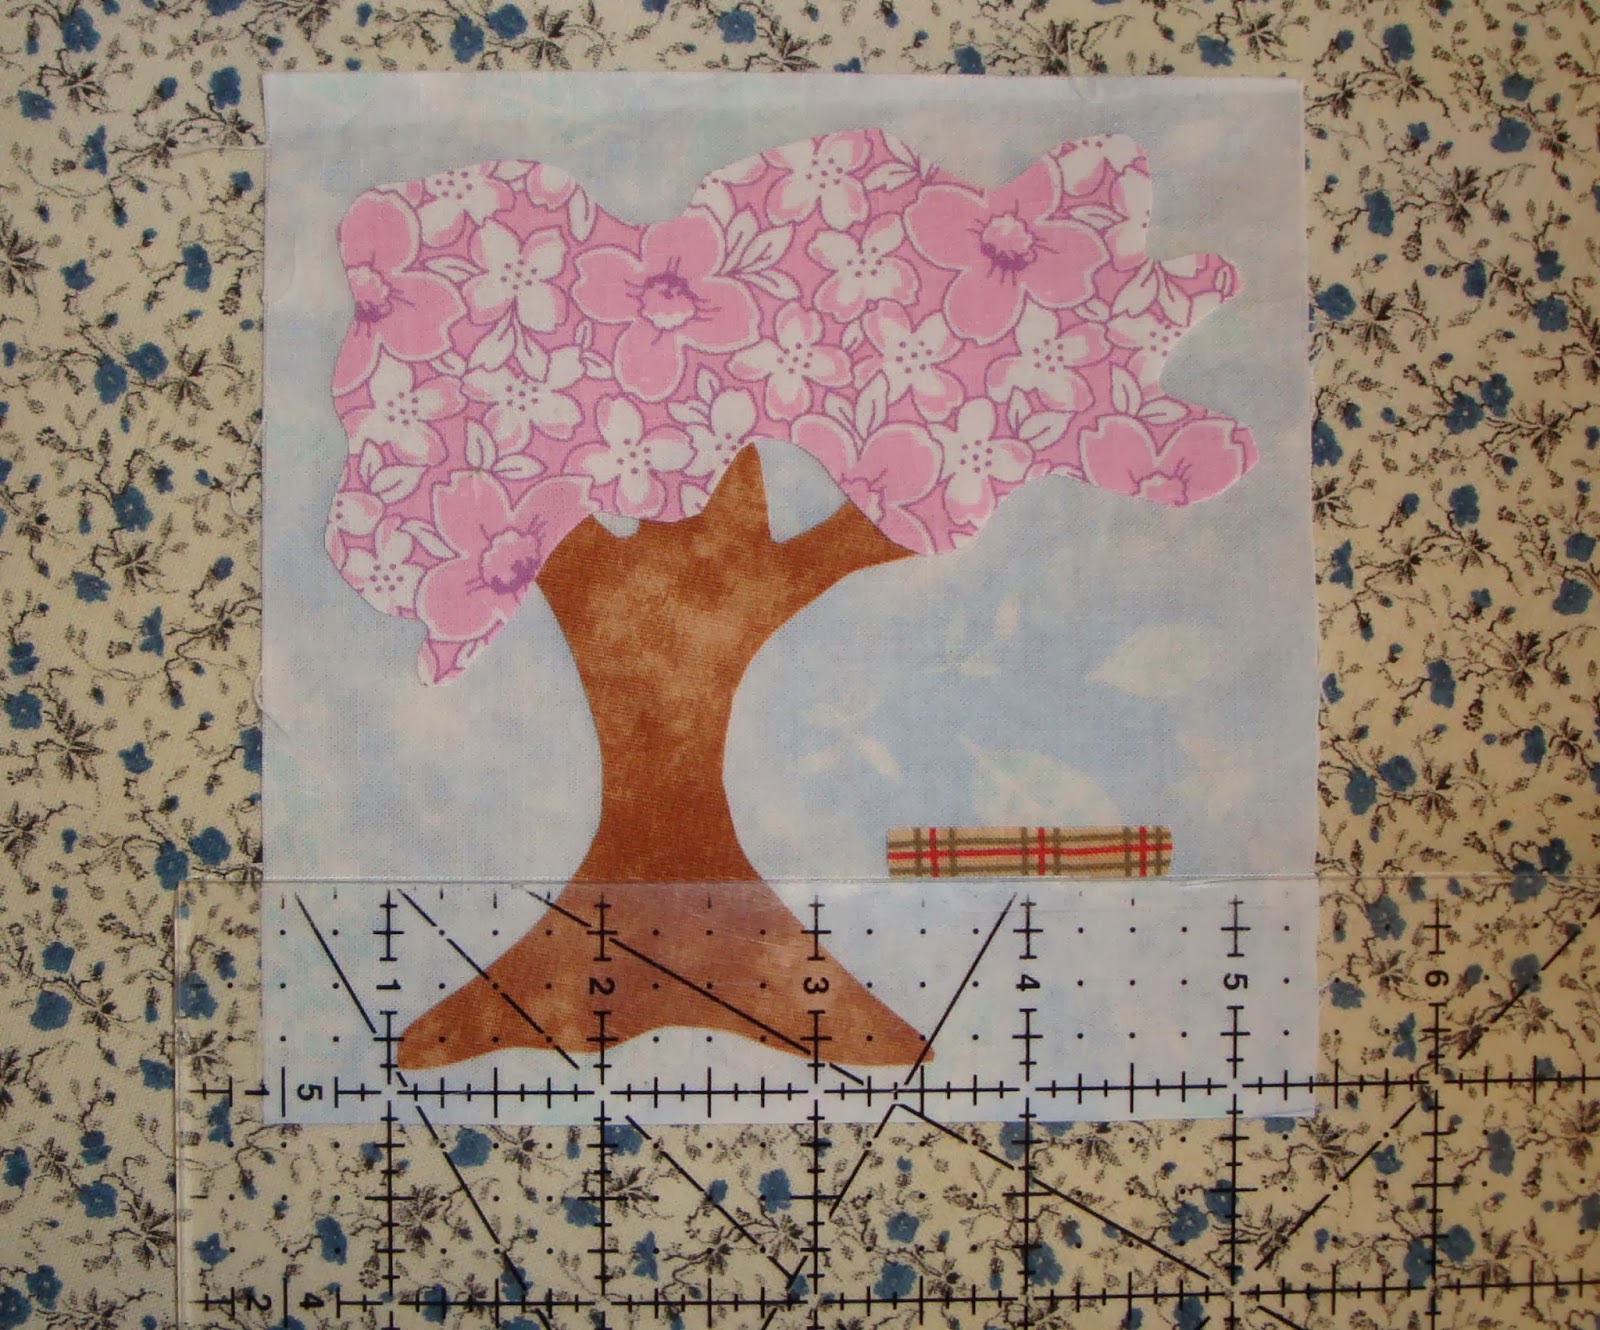
To get pieces to align properly while arranging them on the quilt block; use your rotary cutting ruler (or any clear ruler) to keep them straight. This way you can see through the ruler and ensure your design is placed where you want it.
Using the Ruler to Place the Swing's Seat
Recommendations:
--Where many pieces cross, I sometimes like to fuse on the bottom pieces first; go stitch them on; and then go back and add the ones on top. This is helpful when you are changing thread colors; or when it is more difficult to stitch the bottom piece(s) without affecting the piece(s) that overlaps it.
Two examples might be:
(1) A railroad crossing... Stitch around all the short pieces; and then, add the long pieces.
(2) A grouping of flowers... five in the design with three in the background. Stitch on the three in the back row; and then add the final two in the front row.
Embellishing the Blocks:
3.) PREPARING APPLIQUE BLOCKS
Sometimes, you will want to add extra elements to the applique that are not made from fabric; such as: extra rows of stitching, buttons, lace, rickrack, bias tape, etc. to embellish the quilt blocks.
Stitching Lines:
A machine-stitched line is quick; and works much better when an applique piece would be so narrow it would not really be worth the trouble. (Like the swing's rope here.) You could also do this step by hand with an embroidery stitch.
It will depend on the color of your fabric; however, in this block we can use a pencil to draw a light line to mark the stitching line.
I like to use a 2.5 stitch length and stitch on the drawn line; with the needle down in the fabric, turn the block and stitch over the first row of stitching; and if I want more definition, do it one more time. Then, I pull the threads to the backside; and knot. (I used three lines, on this block.)
Drawing on the Lines for the Swing's Rope
Lines Ready to be Stitched
Other Embellishments:
If pieces are very small, they can be replaced with buttons, sequins, googly eyes, or fussy-cut fabrics. To embellish and decorate a block; we could add decorative stitching, embroidery, lace, bias tape, piping, rickrack, etc.
Extra care must be taken with blocks that are embellished, as to not nick or melt the attachments, when using the iron.
Sewing the Block:
4.) STITCHING THE APPLIQUE BLOCK
Before we stitch our applique designs, we'll need to decide what:
--thread type(s) and color(s) to use
--type of stitches and size
--adding applique pieces in one or more application(s)
--any embellishments and when they are added to the block
Thread Type and Color:
Generally, it is recommended to use cotton thread for cotton fabric. But if you don't have cotton thread and have lots of other blends of thread, use them. I like the polyester/cotton blend for appliqueing.
Color Options:
You can match the thread to the fabric, use one thread color throughout, or use a combination of thread colors; to embellish and decorate the blocks, as you desire. I have used all three in different projects.
Types of Stitches:
I like using a buttonhole or blanket stitch in a 2.5/2.5 size; and the zigzag stitch for finishing the edges on my appliques. I do recommend using a zigzag stitch for small applique pieces. I generally use a 2.0/0.5 or sometimes a 1.5/0.5 stitch size. The zigzag stitch is also quicker, if time is a factor. And since not all machines have the extra fancy stitches, the zigzag stitch still looks lovely used on appliques.
Personally, I have no tolerance for needle-turn applique, and hand sewing I only reserve for the quilt binding on small projects; and therefore, I love this fused machine applique technique.
I hope this tutorial was helpful, and if you have any other concerns, please email them to me. I can do another applique post, if there are enough interest. Thanks for reading....
And happy stitching....
Tree Swing Block:
5.) A FINAL LOOK AT OUR BLOCK
This is just one way to do it; as you could fuse the complete design and then add the stitching.
In my example:
The tree trunk and swing were done before the tree top was fused and stitched. Since the top of the trunk is covered by the leaves, a straight stitch can be used to get to the other side; and then continue with the selected stitch type. (This is optional.)
Stitching the Swing and Tree Trunk
After adding the tree top; a few lines of additional stitching was added to the tree trunk. These lines were done with machine stitching. (Can also be done by hand or left out.)
Showing the Finished Applique
PRIZE
DRAWS:
With Valentine's Day coming up, let's
share the love....
To enter my "Share the Love" draw
leave a comment on this February 7, 2014 blog post for your chance to win 1 of
3 patterns from my Craftsy pattern store. Winners will be drawn on Feb.14.
Draw Rules:
1.) Post a comment about something you
LOVE about this applique mystery quilt along.
2.) Contest is
open to ALL participants. (Both free and paid versions.)
3.) You must have a valid email address to claim your prize, if you are a winner.
To make this extra special: Non-participants can also play. And if your name is chosen as a winner; you will receive the
February paid version, so you can join in all the fun the group is having.
THIS PRIZE DRAW IS NOW CLOSED.
Happy Quilting....