January 2012
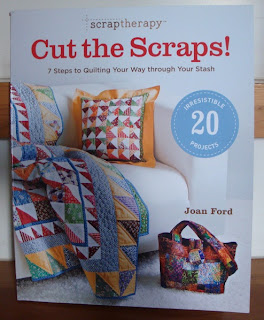
Cut the Scraps! by Joan Ford
Since I bought this book to see how to do the ScrapTherapy(tm) system, it was all about cutting up my fabrics. I learned the "7 Steps to Quilting" and what sizes work best for these projects. Now that I have cut lots of squares of fabric in 5", 3.5" and 2" sizes, I'm ready to choose a project.
What I like to do is first browse through the quilting book and see what projects are featured. There are many lovely projects in all books, but which one will you actually make. I find it easy to get distracted and one should try and make this fun, not difficult. So... I choose to make the one that draws my attention first.
The Project: Runaway Thread
--PART ONE--
I chose "Runaway Thread" on page 81. It grabbed my attention and wouldn't let go, so I knew I'd want to make this one for my review. It is a lap size quilt (66" x 78") that if anyone wished to, could add more outer borders to increase its size. Even though it looks really complicated, it is actually listed under the Easy level. So, don't be surprised when others will 'ohhh' and 'ahhh' at this quilt, because it truly is stunning.
Details:
4 1/4 yards - background fabric4 1/2 yards - backing
70 inch x 82 inch - batting
5/8 yard - binding
ScrapTherapy scraps (64 -- 5" squares; 316 -- 3.5" squares)
After checking my fabric cabinet, I did indeed have enough of a light background fabric and lots of scrap squares. For this project, I will only be making the quilt top for now, so the other fabric requirements are not necessary at this time.
Pictured below are the fabric squares needed for the center blocks of the quilt. There are 80 background squares along with the necessary scrap squares to construct the three types of blocks needed for the center of the quilt.

Fabrics for the Center of Quilt
The block shown below uses one light background fabric square with one 5-inch scrap square and one 3.5-inch scrap square.

Finished Block -- 6.5" Square
This is the finished result for the quilt top center blocks, some have two scrap squares; some have only one scrap square added.

Center Blocks of Quilt Top
After completing both block sizes, I stored them in ziploc bags so they would be ready for the next step in construction. The construction process is the same for both block sizes.

Border Blocks -- 3" Squares
Next week... I will show you how these blocks are constructed; I will begin with the 3" block sizes as they seemed more time consuming. One shouldn't always leave the most difficult portion to the last. Do it first and then it'll seem the project is soon to be completed.
Happy Quilting,