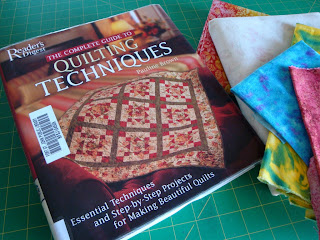
Three different ways to create the prairie point are shown in this book.
Prairie Points – 3 ways: single-fold (218); double-fold (p219); continuous prairie points (p163)
Construction of the Continuous Prairie Point:
The next step was to work on the prairie points that are going around the edge of the quilt. I had not seen continuous prairie points before, nor had I made them.
If I remember correctly, the strip was 4" wide, and then pressed in half to mark a center line from which to create each fold of the prairie points. Then cuts were made every two inches on both sides of the center line, alternating along the whole length of the fabric strip.

Pressing a Fold-line

Cut to the Pressed Line
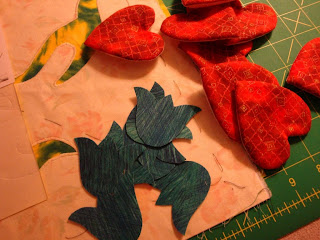
Then each cut square was folded once towards the centerline and pressed, as shown on the left below. The second step was to go back and fold each triangle shape to create another triangle, shown on the right side of the photo below. Once all the triangles were folded, all the points facing downwards were folded up to create the finished prairie point. These I pinnned and then basted along the cut edge. They were set aside.
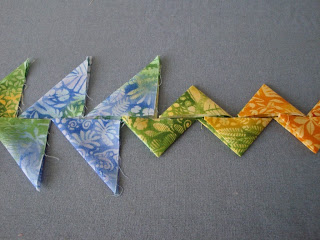
Folding the Prairie Points in Two Steps

Basted Prairie Points Strip
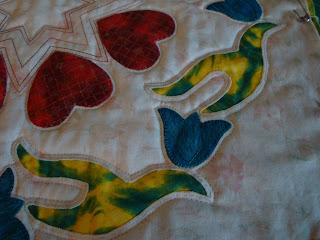
Before stitching the prairie points onto the edge, several things needed to be done first. Stacking the layers of the quilt top, batting, and backing together, to do the quilting. Shown below are the center of the quilt, and the applique elements. I stitched around the star design to quilt through all the layers. Then added a shadow stitch around the complete design.
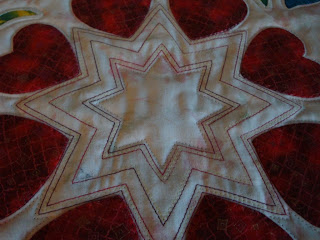
Quilting the Layers
Quilting All Around the Outside of the Design
Still having a square-shaped quilt, it was ready to mark the cutting line. I placed the pattern piece back onto the quilt and marked the edge with a pen. When completely marked, I stitched inside these marks about a quarter of an inch, and then cut on the dotted line, marked in pen.

Marking the Cutting Line

Stitching 1/4" Inside the Marked Line
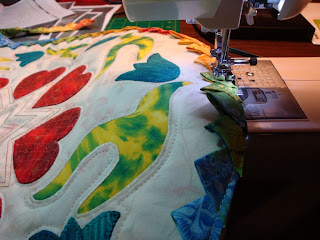
Attaching the Prairie Points

Closeup of Binding
I enjoyed making this quilt. It has lots of variety; especially, with the applique techniques, involved. And this quilt makes a delightful centerpiece, if one has a place to display it. I have done lots of square-shaped quilts on this challenge; however, it is my first round one.
My Finished Project
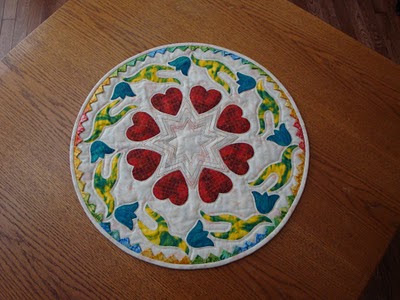
Size: 20" diameter
This concludes my 2010 quilt technique challenge. I will try to complete the final quarter review within the next month.
Enjoy the holiday season....


.jpg)