Book:
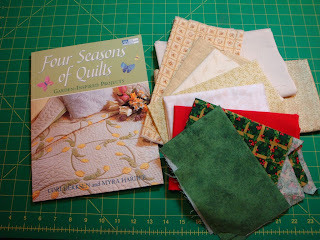
Four Seasons of Quilts/ by Cori Derken and Myra Harder
I had picked an autumn project and got the quilt top sewn together. However, I just couldn’t get myself to work on the appliqué portion of it.
“Pumpkin Patch Baby Quilt”
I know this may sound odd because I love to do appliqué but the design and the size of the quilt caused me to stall. After some time trying to motivate myself to continue, I realized it was not going to happen. I made the decision to choose another project from the book and found that my eagerness did return.
*************************
Time to reveal my next project… my second choice was: "Holly and Berries Table Runner" on page 80.
Combining these two different techniques looked like a great challenge especially since - one was one that I love (appliqué) and one that I cannot find love for (paper piecing). I knew I’d finish this one, because of the way I felt about it.
Book, Fabrics
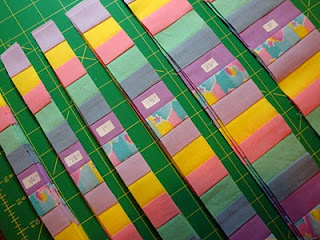
MORE ABOUT PAPER PIECING
Do you find some paper pieced block designs you’d love to make but hate using this technique? Then, check out my way to paper piece described below with photos. Generally, I find it works for me. As there are paper pieced design blocks that I have, on occasion, wanted to incorporate into a quilt top.
My Own Method:
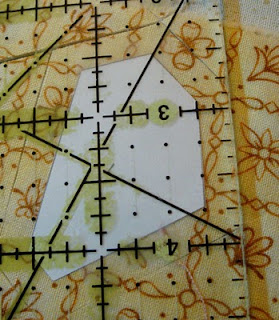
1.) Print out the paper pieced pattern. (regular paper will do)
4.) Cut out the fabric with seam allowances automatically added by using rotary cutting tools. (Place the one-quarter inch mark at the edge of the paper template.)
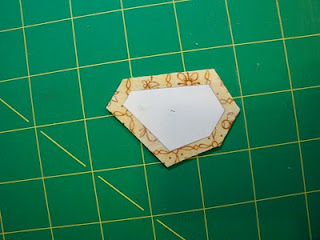
5.) Then follow the numbering on the pattern pieces to assemble the block. 6.) Press each seam open before adding another piece. 7.) And with this process that difficult block is completed!
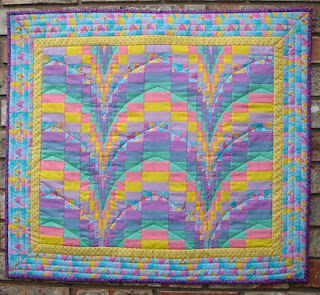
The reason for paper piecing is to get those perfect points in the design. This I accomplished, even doing it my way.
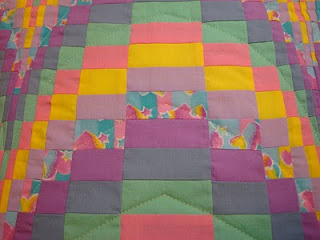
The only problem was that my finished blocks were not square, mainly I think because of the small pieces and working with bias edges. You can see that the points in the design still are perfectly matched. So, I just squared them up and continued with the block assembly.
I’d suggest two ways – to square up your blocks, to the correct size:
1.) If your blocks end up smaller then the pattern requirements, like mine did, adjust your other blocks to fit. This is what I did for this project.
2.) Or… to make them the size the pattern requires to fit the other blocks in the quilt, add a narrow border around the block so that is ends up the size the project needs.
Okay, so this process worked relatively well. The quilt project that I had done several years ago used very large blocks and using my paper templates and the assembly process of the fabric pieces ended up perfectly matched up and square. It was my foundation paper pieced block that wasn’t so perfect.
THE APPLIQUE PORTION
Then, there is appliqué… for some people this is a technique that rivals my feelings towards paper piecing. And, there I would agree with you if you are referring to the needle-turned method. I tried to include a project with this method, but could not get myself to commit to it, so I know I found the technique I’ll stay with when it comes to appliquéd designs.
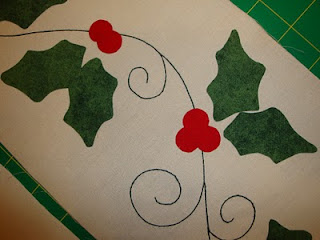
I love doing raw edge appliqué when it is done with fusible web and a machine buttonhole stitch. For me, this is the best way to have fun with appliqué designs.
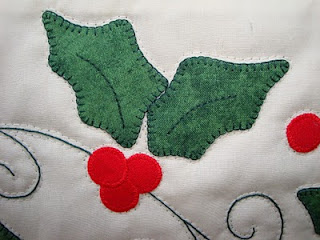
Holly and Berries
I used red thread for the zigzag satin stitch for the berries and green thread for the stems and buttonhole stitch on the holly.
I considered doing hand embroidery for the stems, but changed my mind and used the sewing machine to stitch a double line along my pencil marks. They were done before the appliqué pieces were added.
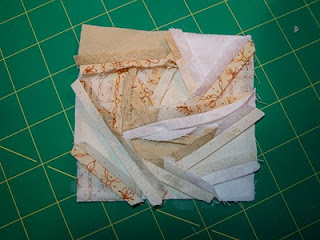
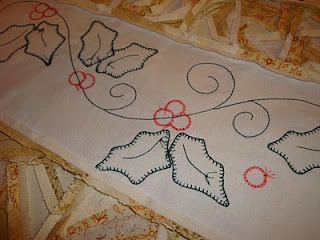
Here is the back side of the appliqué section to show you how cool this side looks.
To finish the quilt layers, I stitched the paper pieced blocks with an “X” and the applique design is done with a shadow stitch all around the stems and berries; then separately around the leaves and single berries.
Showing the green backing fabric and the finished binding both done in Christmas fabrics. Seasonal fabrics come in so many wonderful patterns. When I found this project, I knew the holly and berries fabric would look great on the end borders on this table runner.
Then, a final note: I hope to come back sometime to do the applique on the other quilt. And, the book also has four small projects (14” x 9”) that would be really fun to make.
My Quilt
Finished Size: 15 3/4” x 34 1/2”
Next time...
Come back next week, for an invitation to share your favourite quilting technique. And if you wish to see what books are being featured you can also check out my
website for more details.
Happy stitching!!
.jpg)
+(883x1024).jpg)
+(2).jpg)
+(2).jpg)
+(2).jpg)
+(893x1024).jpg)
+(2).jpg)
+(2).jpg)
+(2).jpg)
.jpg)
+(2).jpg)
+(2).jpg)
+(2).jpg)
.jpg)
+(493x1024).jpg)
.jpg)

.jpg)
.jpg)
.jpg)
.jpg)
.jpg)
.jpg)
.jpg)
+(1024x944).jpg)