My 2010 Quilt Challenge is now complete... and here is my fourth and final instalment. It has been an enjoyable and rewarding year. Many things changed as I followed through with the plan to discover what new quilting techniques would inspire me to complete each project.
Take another look at these projects from the last three months:

--Quilting Books on Review--
Several main goals maintained for this challenge were...
· EXPLORING the books in my own library and public library for this last session.
· USING fabrics I already own, with only a few exceptions, as I bought some new fabrics at a yard sale.
· CREATING small projects to test out these new techniques is still my favorite way to test out new ways.
OCTOBER 2010
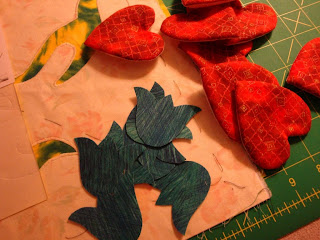
Circles of the East
Kumiko Sudo
Peony
Peony
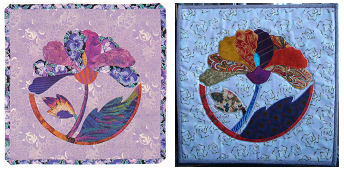
Book Project (on left) / My Quilt (on right)
Remembering back... I really had a difficult time choosing one project from this book. What I finally did was put all the project names in a bowl and had my son pick one out for me. This one was one of my favorites and it ends up being the first project in the book.
I do like applique and this project was fun to create. Since I didn't have any oriental fabrics, I choice ones that would give it that feel... especially choosing fabrics that one may not have considered working in this design. It is always good to try different fabrics and see how pleasing they can actually be when the project is complete.
The project was 14" x 14" in the book. Mine turned out being 14 1/2" by 14 1/2". If one desired to make a larger quilt from these designs; they could be put together with sashing. It would, in my opinion, be a very interesting quilt all done up with flowers.
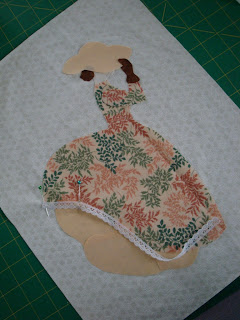
Bonnet Girls
Helen R. Scott
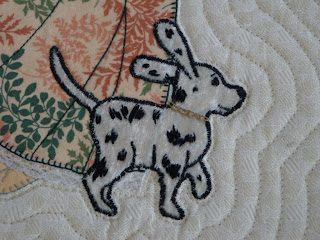
Maureen
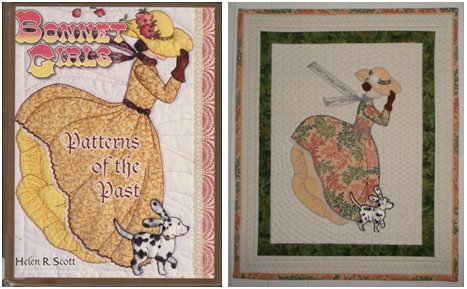
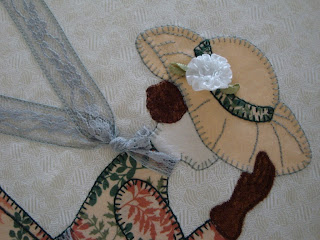
When I first began to work on my website for these book titles, this was one that I really admired. It was not in my personal library; however, I did find it in the public library, this fall. So, I was happy to give this one a try. I chose Maureen, with her delightful little dog and beautiful dress.
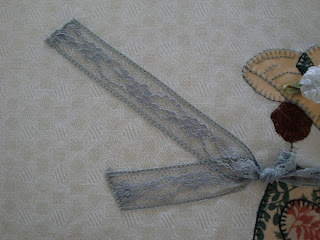
At the time, I had just bought the dress fabric and found it perfect for this application. I've always loved these long, flowing dresses. So, this project was fun to create. The added embellishments were from my scraps I already had in my supplies. The little dog was made with a white, sateen fabric and the black patches created with embroidery stitches.
The project from the book was shown just as it is on the book's cover with no dimensions or quilt layout. I copied the pattern from the book, and now I don't remember if I had enlarged it or left it the same. But I decided to add the borders and make it look like a framed picture.
My finished dimensions were 16 1/2" x 20 1/4". I certainly would try some more designs from this book, when I find the time to borrow it again. The patterns in the book were very versatile and one could create some very unique pictures.
NOVEMBER 2010
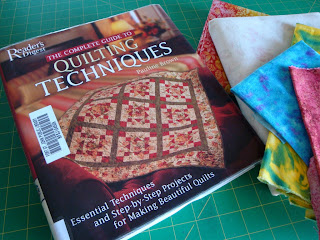
The Complete Guide to Quilting Techniques
Pauline Brown
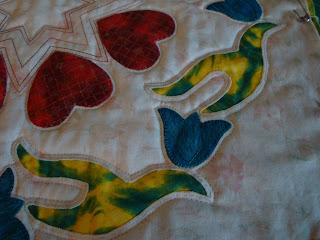
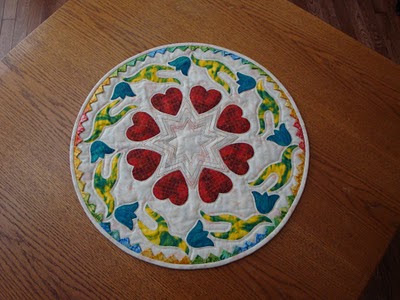
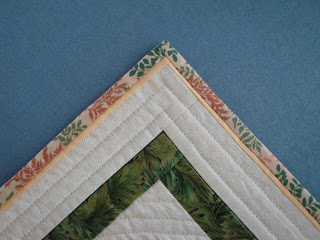
Folk-Art Applique Table Center

Book Project (on left) / My Quilt (on right)
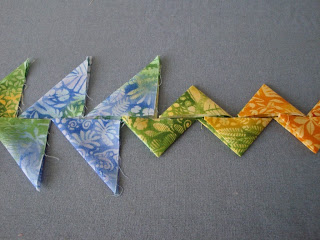
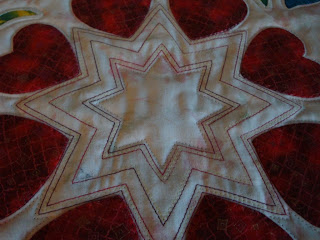
I found this book in the library. It has a large variety of techniques and applications. When I turned to this page, I was intrigued with the prairie points and decided it would be the perfect project to complete my challenge.
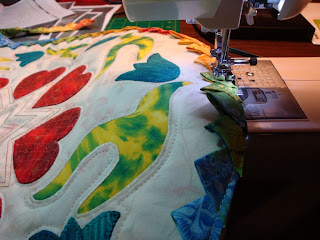
I had done individual double-fold prairie points, but had not heard of continuous prairie points. Along, with this technique, I also was able to use three different applique methods, as well.
These included:
1. Fusible-Web Method (p168) using Lite Steam-A-Seam 22. Reverse Appliqué – (p178) where a seam allowance is cut inside an appliqué shape that is marked on a top layer of fabric.
3. Iron-on interfacing used as a foundation fabric ( great for crazy quilt, appliqués, and selvage blocks)
This was a fun project, and the first one that I have ever made that was completely round. My finished project has a 20" diameter.
MY GOAL REACHED
Originally, my goal was to make a new block each week and then create a variety of projects from those blocks. However after I made my first one, it changed to a goal of creating 20 complete projects over the course of the year.
After several changes to our schedule and a major move; I had a new opportunity to go back to college in September, and my quilting time was altered drastically. And, finding out how little time or desire I had to quilt, I finally decided that 18 projects would be my final total. With this, I felt I had done enough and am happy to end my quilting technique challenge for 2010!!
Thanks for stopping in to visit, leave comments, and truly keep me inspired to take this quilt journey. Wishing you the best for this holiday season and into the New Year ahead!!
Happy Quilting!!


.jpg)
.jpg)
.jpg)
.jpg)
.jpg)
.jpg)
.jpg)
.jpg)
.jpg)
.jpg)
.jpg)


")


